Anthony's Astrophotography
Guide Scope
When doing Astrophotography and are taking long exposures you will definitly require a guiding set up to make sure your equipment tracks perfectly smoothly and does not drift off it’s alignment, this will ensure you get nice round stars in your images.
So why does this happen anyway?? Well, every scope has some degree of error in it’s gearing called periodic Error (I will expalin this more later) and unless you are very good at setting up your mount and have the time to align it perfectly it will always be slightly off, this will result in the view through your scope either wobbling back and forth or moving slowly but surely out of view. If your taking a photo over say a 10 minute period then the stars will either be egg shaped or leave streaks across the image as they move through the field of view and this leaves you with a not very nice image.
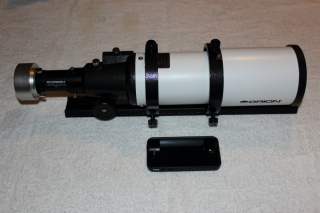
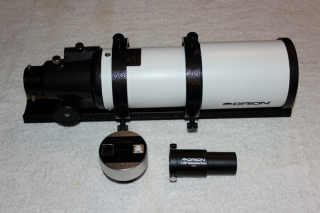
So how do we fix this?? Ok there are heaps of options around for guiding and some work better than others, I have only ever used the Orion Awesome Auto Guider Refrator Package so can only really comment on this setup. I used this because it was compatible with my mount as this was made by the Synta Group (the same as the Orion telescope mounts) so they are compatible in function (see why I recommended this mount in my other post).
So how do we set it up? Well there is a catch, and this is that most guiding setups will require a laptop to run the camera and guiding software, there are models out there that do this in a smart little box but I have not heard good things about these and I use my laptop for camera and mount controls anyway so figured I would use the laptop for guiding as well.
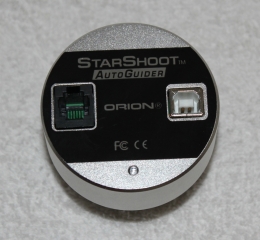
The Orion camera has an ST4 output that connects directly to the mounts Autoguider port (See Here) and a USB port that plugs into the laptop. the software that shipped with this package that I use is PHD Guiding and doesn’t get any easier to use (it litterally stand for “Press Here Dummy” and I think that says it all). The only thing that I got caught out on the first time was the selection of the mount type, as I use the onboard camera guiding port I had to set the mount type as “On Camera” (It pays to read the manual LOL). Ok so we have read the manual or the Quick start Guide, plugged it all in, switched it all on and it’s now guiding – how does it all work any way?
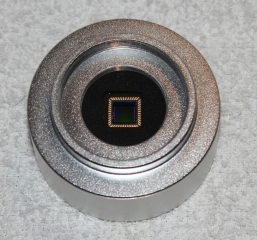
So how does this work? It works as simply as this, the camera watches the selected star in it’s view and looks for any movements, as it was automatically calibrated during set up it will counteract the movement by “nudging” the mount ever so slightly back into position. You could do this manually but it is very difficult and requires very good concentration (why not let the computer just do it for you so you can enjoy the night sky inbetween images 🙂 )
Lastly credit to the quick start guide does not belong to me, I have taken this from the Stark Labs web site and cut down just the info you need to get started, credit goes to the author of this article “Craig Stark“, also make sure if you use this software that you make a donation to the developer, this will ensure he can continue to develope for us and provide more awesome tools for us to use.


